
FirWhy build a home studio? I’ve been playing in several bands for the past decade, and have had the pleasure of working with many talented musicians of all stripes. Some had attended prestigious music schools and studied under the masters of their respective instruments.
And yet…
Very few of them ever considered getting into the engineering side of things. When sat in front of Logic or Pro Tools, their eyes would glaze over. The faders and buttons were alien technology to them. “I just want to play bass” one of them said. I refrained from making inappropriate bassist jokes.
Here’s How to Build a Home Studio
The Advantages of Recording at Home
Recording at home is incredibly beneficial regardless of which level you are at as a musician. Here are just some of them:
- First, you learn more about your instrument
- You save time and money on recording studios
- You develop a producer’s perspective on song making
I’m not suggesting you become a master audio engineer. That’s a whole separate career entirely. But knowing your way around a studio will help you work more efficiently in a professional studio and know what to look for in a sound engineer. This article is meant for those of you who still haven’t taken the leap and invested in some home studio gear. I’ll cover the basics of what you need to get started here below.
1. Computer
Chances are you already have one of these. The million dollar question is if your computer is fast enough to run the music production software. The good news is that you don’t have to break the bank to get a computer that gets the job done. My decade old MacBook Pro can still run Logic Pro X. You will get more bang for your buck if you buy a PC, but you won’t be able to use Apple software.
Get yourself a MacBook Pro or a Lenovo ThinkPad — they’re both great options!
2. Digital Audio Workstation (DAW)
When it comes to DAWs, you have a world of choice. Just from experience, however, I’d recommend the following five brands:
All five have pretty much the same capabilities and are equally easy/difficult to learn.
3. Audio Interface
You can’t plug jack, MIDI, and XLR cables into your computer, so you’ll need an audio interface. While you can easily spend over a grand on a luxurious interface, there’s really no point. It just serves one function, and that is to connect your instrument to your DAW. The PreSonus AudioBox USB 2×2 Audio Interface will set you back $100 and it’s all you need.
4. Microphone
Now that you’ve got a computer, a DAW, and an audio interface, you just need… the actual sound. The market for microphones is a jungle, but here are four classics you can’t go wrong with:
- Rode NT1A (vocals)
- AKG P170 (acoustic guitar and piano)
- Shure SM57 (drums and electric guitar amps)
- AKG D112 (bass and kick drum)
They’re all budget-friendly and will capture the nuances of your vocals and instrument nicely. Make sure you get a microphone stand and a pop-filter as well.
5. Headphones
Microphones capture the sound, but what you hear depends on what you listen on. A good pair of headphones will go a long way. I’d recommend some noise-cancelling headphones to avoid the sound bleeding into your recording — but they’re slightly more expensive. Again, we can rely on affordable classics like Sennheiser HD280PRO for just $100.
6. Monitors
Studio monitors are tricky if you’re on a budget. They just don’t make them very cheap — and for good reason! I love my KRK VXT 6’s, but they cost me around $300 per monitor. Fortunately, KRK makes another model you can get for half the price. Check out this pair of KRK RP5G3 monitors for $300 (in total).
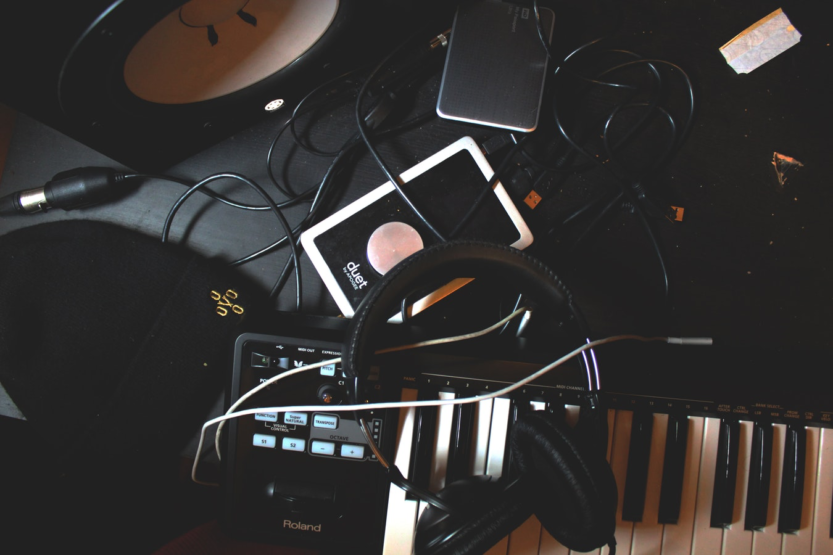
7. Cables
Depending on your studio setup, you’ll want to stock up on cables. You’ll typically want:
Bear in mind that these can be combined as well. Depending on your gear, you might need a XLR-to-jack or a phono-to-jack. Read the instruction manuals — I know it hurts your pride, but it’ll save you money!
Now you know How to Build a Home Studio!
Further Reading – Four Easy Ways to Soundproof Your Music Room